
Last updated October 30, 2026
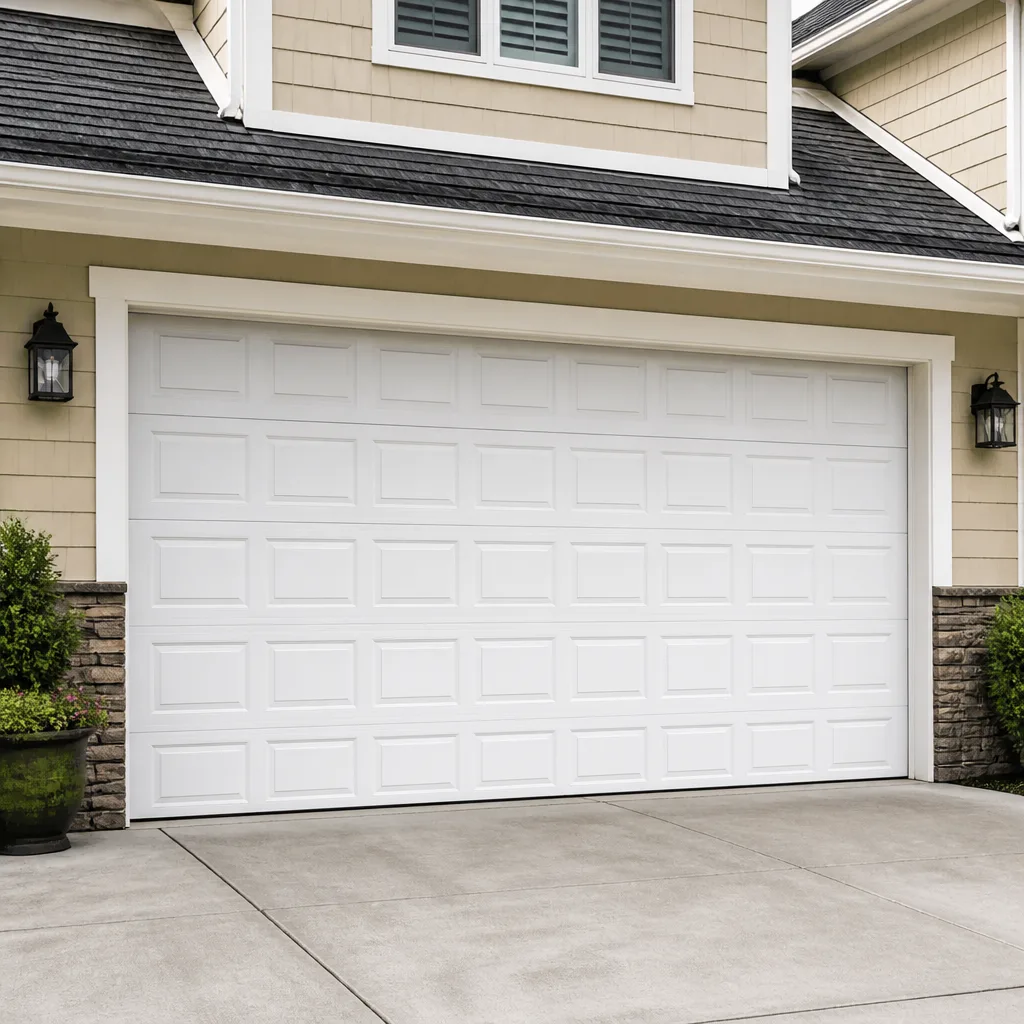 Raised-panel steel
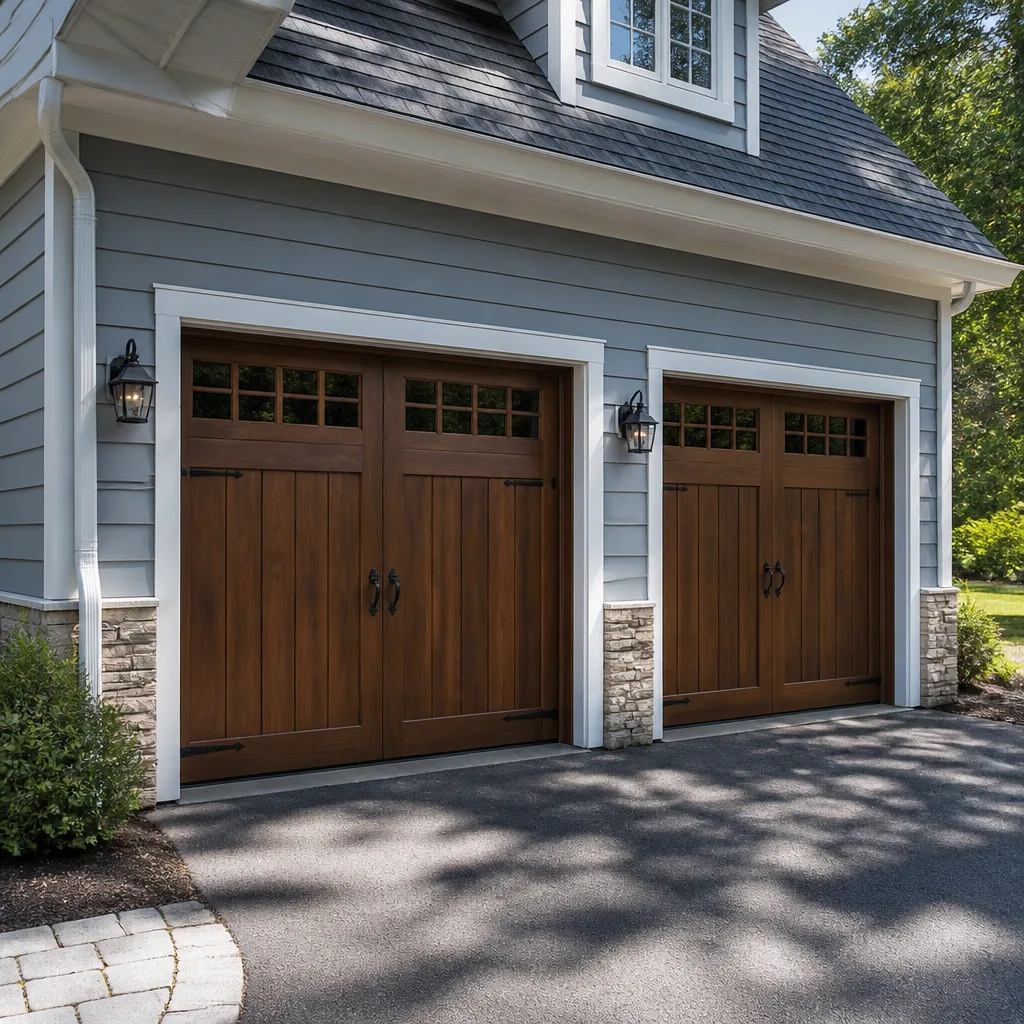 Carriage house
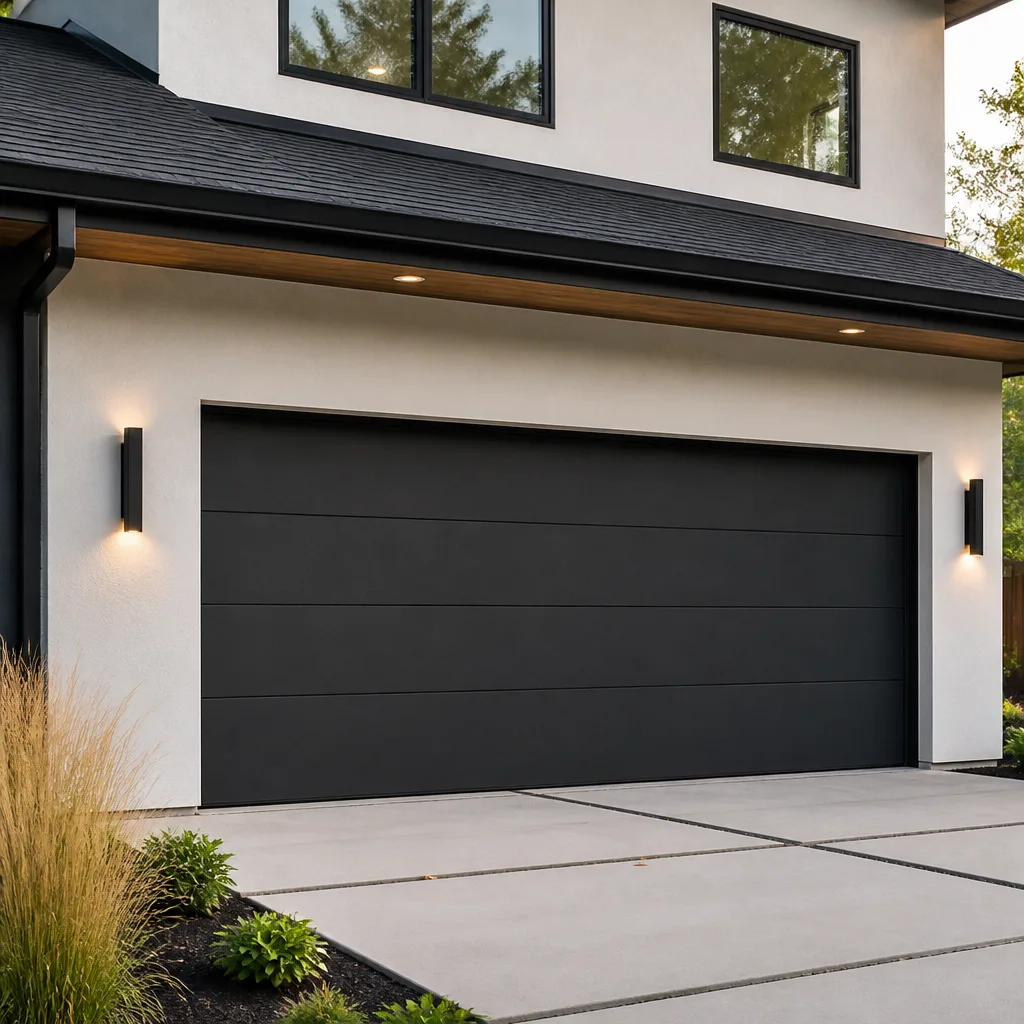 Modern flush
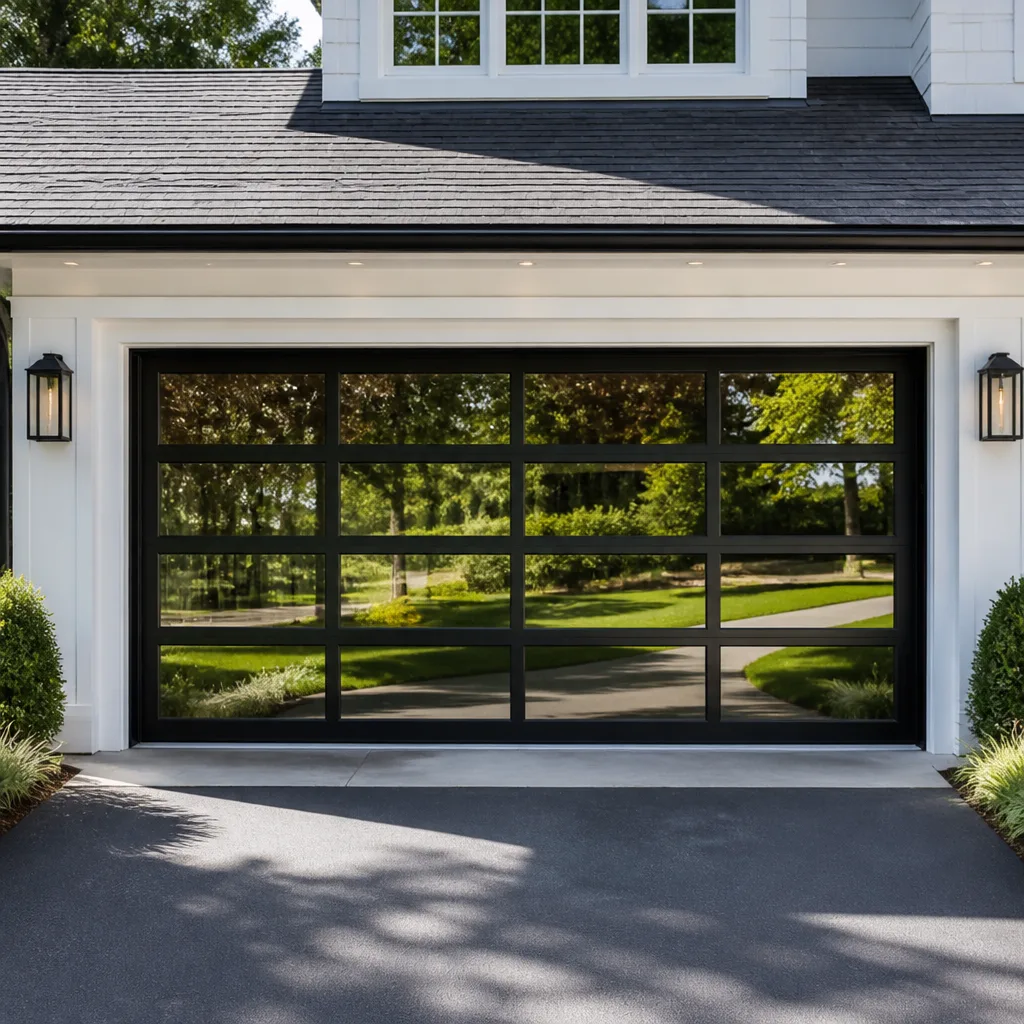 Full-view glass
 LiftMaster openers
 Chamberlain openers
Full 25-point door and opener safety check with every visit - springs, cables, rollers, tracks, and your LiftMaster or Chamberlain opener included
You get a price before we start. It does not change when the truck arrives.
Get your free estimateDIY vs Professional Garage Door: The Riverside Homeowner’s Decision Guide
Torsion springs operate under 100+ foot-pounds of torque, and the Consumer Product Safety Commission estimates garage doors are involved in roughly 20,000 injuries across the U.S. every year. That’s not an argument against doing your own work. It’s an argument for knowing precisely which tasks a Riverside homeowner can safely handle and which ones demand a licensed technician who has done this hundreds of times. This guide draws that line without the scare tactics, because the real decision is about physics, California law, and the cost of getting it wrong.
Quick Answer
Most garage door maintenance in Riverside is genuinely DIY-safe: lubrication, weatherstripping, sensor alignment, and remote programming. Torsion spring replacement, cable work, and anything involving the header bracket or lifting cables should be left to a professional, because the stored energy in those components can cause serious injury and California contractor law creates specific liability for unpermitted structural work when you sell your home. Opener installation sits in the middle: the mechanical mounting is a reasonable DIY job, but the electrical connection legally requires a licensed electrician in California.
Styles & brands we work with
Table of Contents
- The Real Line Between DIY and Professional Work
- What Riverside’s Climate Does to Garage Doors
- Torsion Springs: Where the Physics Becomes Non-Negotiable
- The California Legal Angle Nobody Tells You About
- The Actual Cost Comparison: Parts, Tools, Time, and Mistakes
- Opener Installation: The Middle Ground
- You Already Tried the Repair. Now What?
The Real Line Between DIY and Professional Work
Most articles on this topic treat DIY garage door work as a confidence question. Are you handy? Do you own tools? Have you watched a YouTube tutorial? We think that’s the wrong starting point. The right starting point is the work itself: what does the task physically involve, and what happens if it goes wrong.
Here’s the definitive list we use when a Riverside homeowner asks us what they can handle themselves.
Genuinely DIY-Safe Tasks
- Lubrication. Spraying silicone-based lubricant on rollers, hinges, and the opener chain every six months. No risk, takes ten minutes, and it extends the life of the whole system.
- Weatherstripping replacement. The rubber seal along the bottom of the door and the trim around the opening degrade in Riverside’s dry heat. Replacement is a pull-off, press-on job that requires no specialized tools.
- Photo-eye sensor alignment. If your opener blinks twice and reverses the door, the sensors near the floor are likely misaligned. Loosening the wing nut and adjusting the beam is a five-minute fix.
- Remote programming. Every major opener brand, including LiftMaster and Chamberlain, has a simple learn-button sequence for pairing a new remote or keypad. The instructions are printed on the motor unit itself.
- Track inspection and tightening. Loose bolts on the vertical and horizontal tracks are visible and simple to snug. Tight, not over-tight.
- Balance testing. Pull the release cord, lift the door manually to waist height, and let go. If it stays put, the springs are doing their job. If it drops, that’s information a technician needs, not an invitation to fix it yourself.
Never DIY: Professional-Only Work
- Torsion spring replacement or adjustment. These springs hold the door’s entire weight under extreme tension. The winding bars alone are a specialized tool, and a slip at 100+ foot-pounds of torque does not give second chances.
- Cable replacement. The lifting cables run alongside the door and carry the same tension as the springs. When one snaps, the door can drop or bind violently.
- Header bracket installation or repair. That bracket holds the torsion tube above the door opening. If it pulls free from the framing, it becomes a projectile.
- Door panel replacement on a sectional door. Middle panels require disassembling the door under tension. This is not a bolt-off, bolt-on job.
- Full door replacement or installation. A new door must be squared, level, and properly tensioned. A door that isn’t tracked correctly eats rollers, strains the opener, and fails early.
We tell you what’s wrong before we tell you what it costs. When a Riverside homeowner calls us after attempting one of these, the conversation usually starts with the same sentence: “I didn’t know how much tension was in that thing.”
What Riverside’s Climate Does to Garage Doors
Riverside’s inland Southern California climate is specific, and it shapes the failure patterns we see across the city. This isn’t generic garage door advice. It’s what the weather here actually does to the hardware.
Dry Heat and Rubber Rot
Summers in Riverside routinely cross 100°F, and the humidity stays low for months. Rubber and vinyl components, bottom seals, weatherstripping, and bushings, cure and crack faster than they would in coastal cities. A bottom seal that would last five years in San Diego might need replacement in three in Arlington Heights or the Wood Streets. The good news for DIYers: this is exactly the kind of task that’s safe to do yourself, and the parts are inexpensive.
Metal Expansion Cycles
Riverside swings 30 to 40 degrees between daytime highs and overnight lows for much of the year. Steel tracks, hinges, and rollers expand and contract through that cycle daily. Over time, bolts work loose. That’s why the balance test and bolt inspection we mentioned above are not one-time tasks. They’re twice-a-year maintenance here, and they’re entirely DIY-appropriate.
Dust and Grit
The Santa Ana winds push fine dust and grit into every moving part on a garage door system. Rollers, especially steel rollers with bearings, grind that grit into the tracks and raceways. Lubrication is not optional maintenance in Riverside. It’s the difference between a roller that lasts eight years and one that seizes in two. This is the single highest-value DIY task for a Riverside homeowner, because it’s cheap, safe, and prevents most of the failures we get called out to repair.
None of this is an argument that Riverside is uniquely harsh on garage doors. It’s an argument that the maintenance calendar we recommend here is tuned to local conditions, not a national template.
Torsion Springs: Where the Physics Becomes Non-Negotiable
Torsion springs are the component that separates garage door repair from every other household project. A shower drain doesn’t store enough energy to break your arm. A dead outlet doesn’t launch a metal cone across the room at highway speed. A torsion spring does.
Here’s what’s actually happening above your door. A typical residential torsion spring for a 16-foot door is wound between 7 and 9 full turns when installed. Each turn stores energy. The winding cone on the end of the spring is under constant rotational force. When a technician winds or unwinds one, they’re working with two 18-inch steel winding bars inserted into the cone, one half-turn at a time. If a bar slips, the cone spins back instantly. The spring doesn’t care what’s in the way. Fingers, forearms, and faces lose that encounter every time.
The numbers matter here. A standard pair of torsion springs on a double door holds roughly 100 to 160 foot-pounds of stored torque, depending on the spring’s wire size and diameter. That’s the same class of energy as a small motorcycle engine. It cannot be released slowly by hand.
In our experience across Riverside, we’ve seen what happens when homeowners attempt this. Broken winding bars. Springs that snap and take out the drywall. Cones that strip their threads. A trip to urgent care. The repair bill for fixing a botched spring job is almost always higher than the cost of having done it right in the first place, because the technician now has to undo the damage before starting the actual replacement. For a detailed look at pricing, see our Garage Door Cost Breakdown: The Riverside Homeowner’s Reference for 2026.
This is a professional-only task, full stop. If your door has a broken spring, the door will not lift, or it will lift an inch and slam back down. Do not try to force it. Pull the release cord and leave the door manual until a technician arrives. For what it’s worth, Riverside homeowners can get same-day spring replacement from Garage Door Repair in Riverside, because this failure is common enough that local shops keep springs on the truck.
The California Legal Angle Nobody Tells You About
Here’s the part of the DIY-versus-professional conversation that almost no guide covers: California’s contractor licensing law creates specific exposure for homeowners who do their own structural or regulated work, and that exposure compounds when the house is sold.
California Business and Professions Code requires a contractor’s license for any construction or repair project valued at $500 or more in combined labor and materials, with specific carve-outs for owner-occupied work. A homeowner can legally do work on their own primary residence without holding a contractor’s license. That’s the good news. The problem arrives years later, at the disclosure stage of a home sale.
When you sell a home in Riverside, the California Residential Purchase Agreement includes a Transfer Disclosure Statement that asks, among other things, whether any significant repairs or alterations were made without a permit. Garage door replacement, particularly full door replacement or work involving the structural header, falls within the scope of work that Riverside County building codes address. If you do that work yourself, without a permit, and then fail to disclose it, you have created a liability that outlives the repair itself. Disclose it honestly, and you may be required to bring the work up to code retroactively, or credit the buyer for the correction.
None of this applies to lubrication, weatherstripping, or sensor alignment. Those are maintenance, not construction. But the moment you start unbolting the torsion assembly, replacing door sections, or reframing the opening, you have crossed from maintenance into structural work, and California treats that differently.
Professional installation sidesteps this because the contractor is licensed, the work carries a warranty, and the paper trail exists for the next owner. If you’d rather not manage that risk, Garage Door Installation in Riverside handles the full door lifecycle, including permitting where required.
The Actual Cost Comparison: Parts, Tools, Time, and Mistakes
The DIY-versus-professional debate usually starts with a parts price and stops there. A pair of torsion springs costs $80 to $120 online. A technician charges several hundred to install them. Case closed, right? Not quite. The real math has more line items.
What DIY Actually Costs
- Parts. Springs, cables, rollers, or an opener unit, at retail price. Contractors buy from wholesale distributors, but the gap here is smaller than most people expect, often 20 to 30 percent.
- Specialized tools. Torsion spring work requires two 18-inch winding bars, typically $25 to $40. A proper spring gauge and a socket set for the set screws adds another $30. For opener installation, you’ll need a ladder, a drill, and a helper for at least part of the job.
- Time. A first-time spring replacement realistically takes a full day, including the research, the trip to the parts store, and the slow, careful winding. That’s a Saturday you don’t get back.
- Warranty forfeiture. When you buy a spring from a parts supplier and install it yourself, the warranty covers the spring, not the installation. If it fails early, the replacement part may be free, but you’re doing the labor again. If a contractor installs it, the labor is typically covered for a defined period.
- Mistake correction. This is the line item nobody budgets for. A botched spring or cable job costs two to three times the original repair, because the technician bills for the undo before the redo.
What Professional Work Actually Costs in Riverside
| Service | Typical Riverside Range | Notes |
|---|---|---|
| Torsion spring replacement (pair) | $280 – $450 | Includes springs, labor, and balancing. Same-day common. |
| Lifting cable replacement (both sides) | $180 – $300 | Often done alongside spring work. |
| Opener repair (logic board, gear, or sensor) | $150 – $350 | Depends on opener brand and age. LiftMaster and Chamberlain parts are widely stocked. |
| Full opener installation | $450 – $800 | Includes unit, mounting, safety sensors, and programming. Electrical connection billed separately if a licensed electrician is required. |
| Full door replacement (16 ft sectional) | $1,500 – $4,000+ | Wide range based on material, insulation, and window options. |
The honest math isn’t parts-versus-labor. It’s total cost of ownership across the life of the door. When you factor in the specialized tools you’ll use once, the day lost to the job, the warranty you don’t have, and the real possibility of a costly do-over, professional repair is often within $100 to $200 of the DIY all-in price on spring and cable work, with none of the risk. For safe maintenance tasks, DIY wins cleanly. For tension work, it doesn’t.
Opener Installation: The Middle Ground
Garage door opener installation is the one job where the DIY-versus-professional line genuinely blurs, because the work splits into two distinct parts with two different risk profiles.
The mechanical portion, mounting the rail, hanging the motor unit, attaching the arm to the door, and installing the safety sensors, is a reasonable DIY project for a homeowner with basic tools, a ladder, and a second pair of hands for the motor lift. The instructions from LiftMaster, Chamberlain, Genie, and Craftsman are generally clear, and the mounting hardware is standardized. If you take your time and follow the manual, the mechanical work is achievable in a Saturday afternoon.
The electrical portion is different. California requires a licensed electrician for any new electrical installation, including hardwiring a garage door opener to a new circuit or running new wiring to the ceiling outlet. If you’re swapping an old opener for a new one and the outlet already exists, the plug-and-play swap is within the owner-occupant carve-out. But if the garage doesn’t have a ceiling outlet, or if the old opener was hardwired and you’re rewiring, that work legally requires a licensed electrician in California. Doing it yourself creates the same undisclosed-unpermitted-work liability we described above.
There’s also the brand fluency factor. We work on LiftMaster and Chamberlain systems daily, along with six other major brands. We know which models have known failure points and which ones are worth repairing versus replacing. A homeowner buying an opener from a big-box store doesn’t always know that the $300 unit and the $180 unit share the same motor but different logic boards, or that one brand’s rail design is measurably noisier in Riverside’s heat. That knowledge is the difference between an opener that runs for twelve years and one that needs service in four.
If the mechanical work sounds like your kind of project, it’s a legitimate DIY job. If the electrical work is involved, or if you’d rather not spend a Saturday on a ladder, Garage Door Opener Repair in Riverside covers the full scope, diagnosis to installation, for every major opener brand.
You Already Tried the Repair. Now What?
Plenty of Riverside homeowners start a garage door repair, realize halfway through that the spring has more tension than they expected, and then call a technician. That’s not a failure. It’s the right decision at the right time. But how you handle the disclosure to the technician makes a real difference in what you pay.
Here’s what to do if you’ve already attempted a repair and hit a wall.
- Stop where you are. If the door is partially disassembled, leave it that way. No additional disassembly, no forced movement. A door with one spring still wound and the other removed is off-balance and dangerous.
- Photograph everything. The winding cone, the cable drums, the track position, the hardware you removed and where you set it. A technician who can see the exact state of the job can come prepared with the right parts.
- Tell the dispatcher what you did. Not the broad strokes, the specifics: “I removed the old springs and couldn’t get the new ones wound” is different from “I loosened the set screws and then stopped.” The technician needs to know what tension state the door is in before they touch it.
- Answer the diagnostic questions honestly when the tech arrives. If you tried to lift the door with a broken spring and bent the track, say so. Hiding it doesn’t lower the bill. It means the technician spends the first hour discovering the secondary damage, and you pay for that discovery time.
- Expect the quote to include correction. If your attempt created secondary damage, the repair quote will include fixing that damage first. That’s not padding. That’s the reality of undoing before redoing.
Honest disclosure protects you in a specific way: it prevents the technician from misdiagnosing your mistake as a pre-existing failure. When we know a homeowner attempted a spring swap with the wrong tools, we check the winding cone threads and the set screws before quoting anything else. If we don’t know, we spend billable time discovering it. The straight-talk diagnosis philosophy means here’s what failed, here’s why, here’s what it takes to fix it, and the information you provide makes that faster and cheaper.
Common Mistakes to Avoid
- Using the wrong lubricant. WD-40 is a solvent, not a lubricant. It strips the existing grease and accelerates wear. Use a silicone-based lubricant on rollers, hinges, and the opener chain. This is the single most common DIY mistake we see in Riverside.
- Replacing one spring instead of both. Torsion springs are paired for a reason. When one breaks, the other has the same number of cycles on it and will fail soon. Replacing both saves a second service call and keeps the door balanced.
- Forcing the door with a broken spring. The opener motor will fight a door that a broken spring can’t counterbalance, and that fight destroys the opener gear. When the spring snaps, pull the release cord and leave the door manual.
- Buying parts by price, not spec. A torsion spring is sized by wire diameter, inside diameter, length, and wind direction. A spring that’s close enough is not close enough. It changes how the door balances and how hard the opener works.
- Painting over rollers and hinges. A fresh coat of paint on the door panels is fine. Paint on the rollers, hinges, or tracks is not. It gunks the moving parts and causes binding within months.
- Ignoring the balance test. A door that doesn’t stay at waist height has a spring problem, even if the spring hasn’t broken yet. Catching it early is a $300 spring replacement. Catching it late is a $300 spring replacement plus a $200 opener repair.
See the difference
 Before
 After
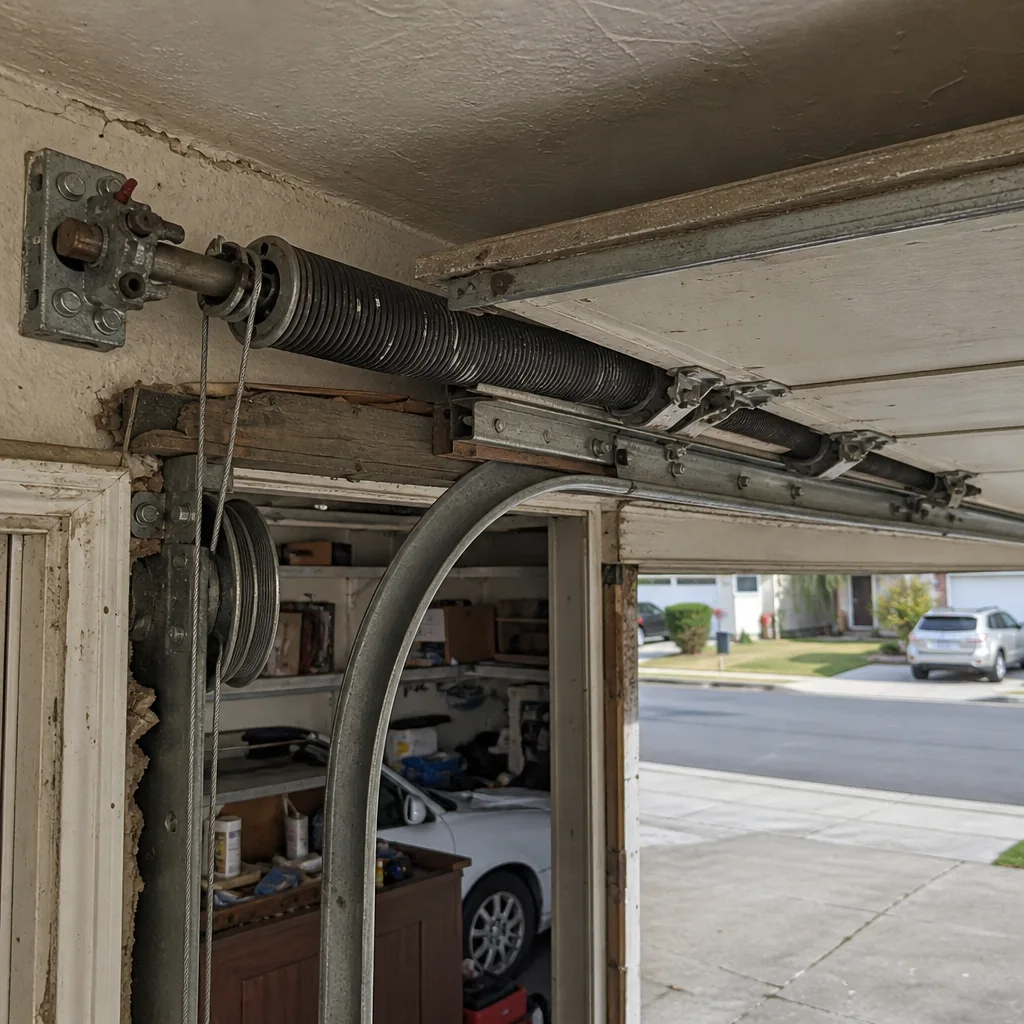 Before
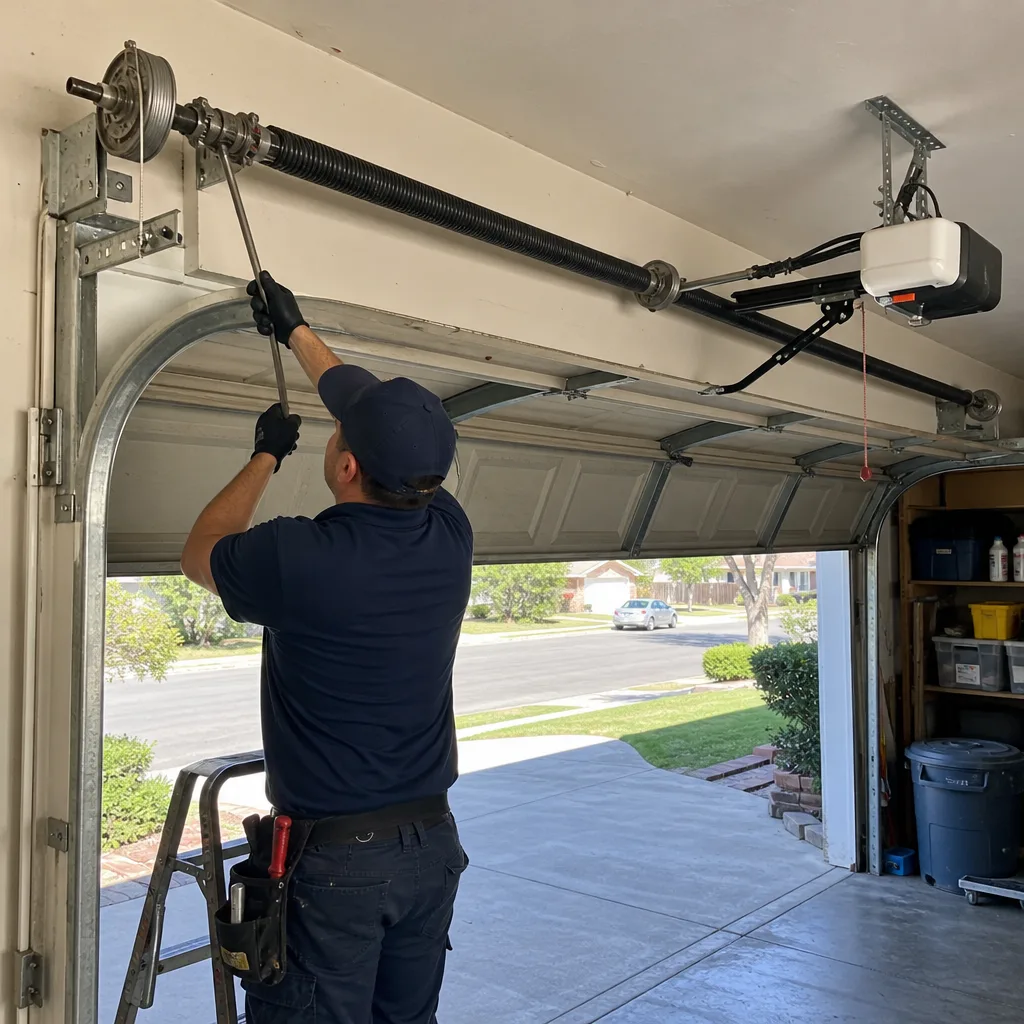 After
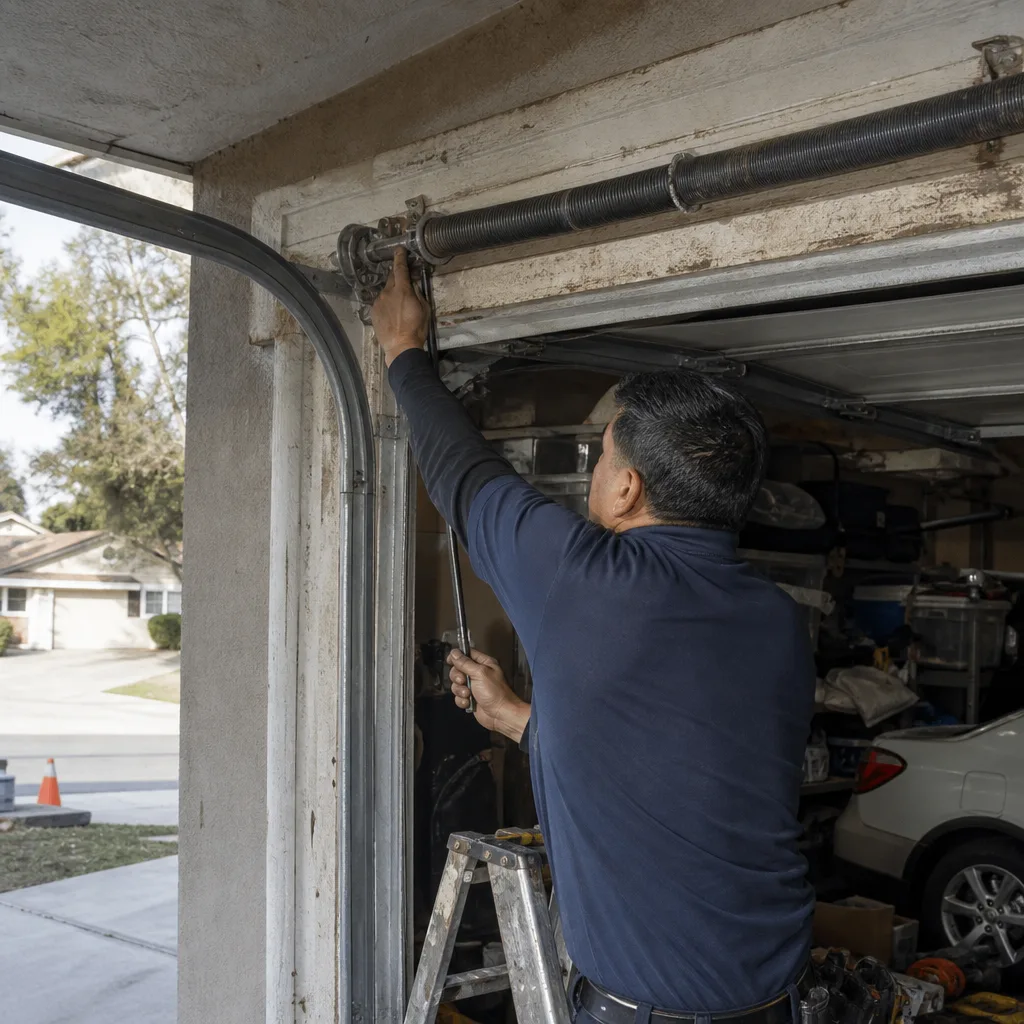 Before
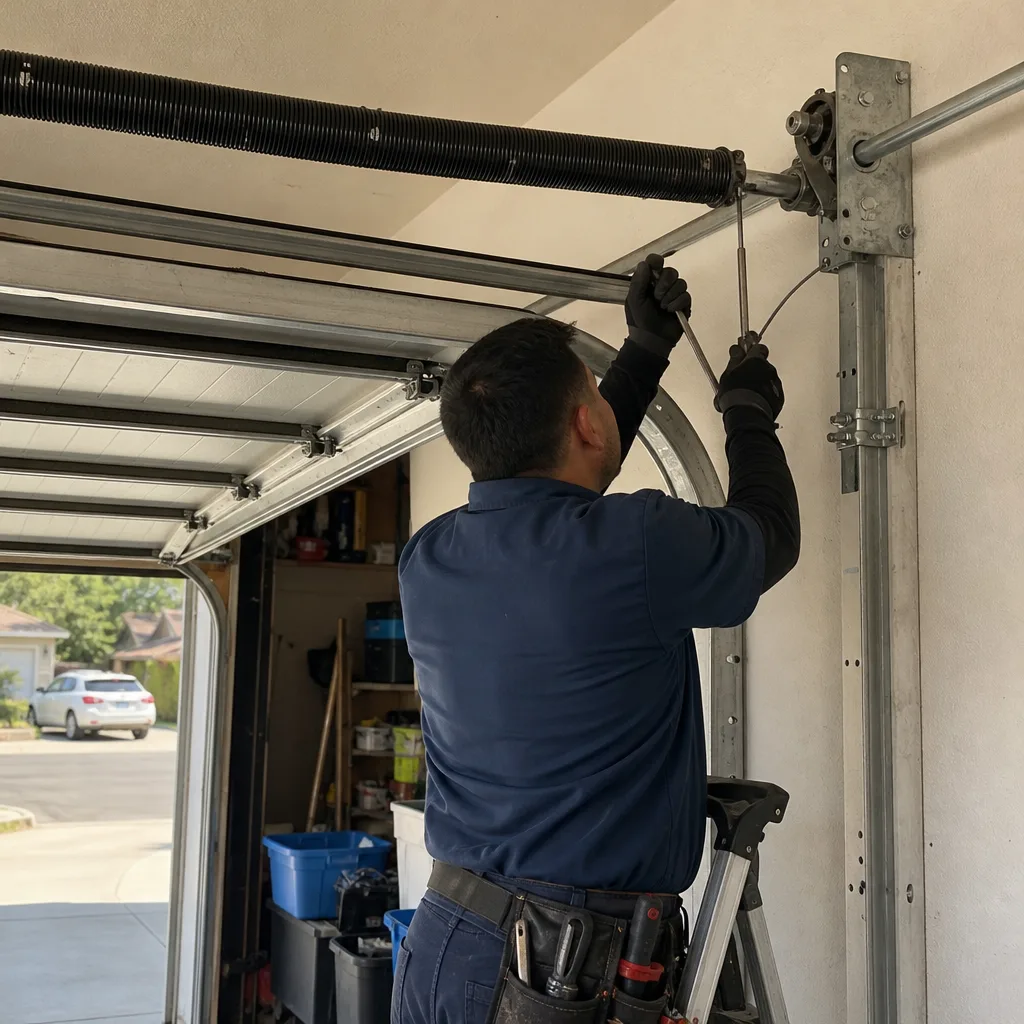 After
When to Call a Professional
Call a professional when the work involves torsion springs, lifting cables, the header bracket, or full door replacement. Call when the door doesn’t balance, when the opener makes a grinding noise that lubrication didn’t fix, or when you’ve already attempted a repair and the situation got worse. Call when you’re selling the home and need the work documented and warranted. And call when the repair involves anything you can’t confidently describe as maintenance. For any of these situations, Honest Garage Door Service offers free estimates in Riverside, call (833) 620-3811. Explore our more guides & resources for additional homeowner tips.
Frequently Asked Questions
Torsion spring replacement in Riverside typically costs $280 to $450 for a pair, including springs, labor, and rebalancing. The exact price depends on the spring’s wire size and the door’s weight. Call (833) 620-3811 for an exact quote, estimates are free.
We strongly advise against it. Torsion springs hold 100+ foot-pounds of stored torque, and the winding process requires specialized steel winding bars and a specific technique. A slip can cause serious injury. This is the one garage door task where professional installation is not a convenience, it’s a safety decision.
Lubrication, weatherstripping replacement, photo-eye sensor alignment, remote programming, and bolt tightening are all DIY-safe. These tasks require no special tools and account for a large share of the wear issues that Riverside’s heat and dust cause. Anything involving springs, cables, or the header is professional work.
Yes. California requires a contractor’s license for garage door work valued at $500 or more, with a carve-out for owner-occupied work on your own primary residence. However, unpermitted structural work must be disclosed when you sell, and failure to disclose creates legal exposure. The electrical portion of opener installation specifically requires a licensed electrician in California.
With a straight-talk diagnosis, the quote you get over the phone is based on the symptoms you describe. If the technician finds additional damage when they arrive, they should explain what changed and why before any work proceeds. At Honest Garage Door Service, the price is quoted and agreed before any work starts, and if the diagnosis changes, we tell you what failed, why it failed, and what the new number is before we touch a wrench.
Most established companies in Riverside keep common parts stocked on the truck: torsion springs in standard sizes, lifting cables, rollers, hinges, and opener logic boards for LiftMaster and Chamberlain systems. Because spring failure is one of the most common calls in Riverside, same-day service is generally available. Call (833) 620-3811 to confirm the part you need is in stock.
The Bottom Line
The DIY-versus-professional line for garage doors is drawn by physics and law, not by confidence. Lubrication, weatherstripping, sensor alignment, and remote programming are safe, smart DIY tasks that every Riverside homeowner can handle. Torsion springs, cables, and structural work are professional-only, full stop, because the stored energy involved can injure, and California’s disclosure laws turn unpermitted work into a future liability. Opener installation splits the difference: mechanical work is fair game, electrical work is not. When you call a professional, disclose what you’ve already tried, and the bill will reflect the diagnosis, not the discovery. For repair, opener repair, or full installation, Honest Garage Door Service home is the starting point, and the name on the truck is a promise, not a tagline.
Written by the team at Honest Garage Door Service, serving Riverside since 2015.